We brewed the Tesla Gigabeer! During the Tesla Giga Berlin event in October 2021, Elon Musk announced that Tesla will be making what they call the Gigabeer (or Gigabier if you live in Germany). The Gigabeer will be contained in an unusual bottle that seems to be inspired by the Cybertruck. Since the beer was announced in Germany and it’s inspired by a truck, we thought the only appropriate style was a German Pilsner, which is a crushable & crisp light lager. For those that don’t live in the United States, there is an actual correlation between light lagers and trucks, here’s a real study that proved this.
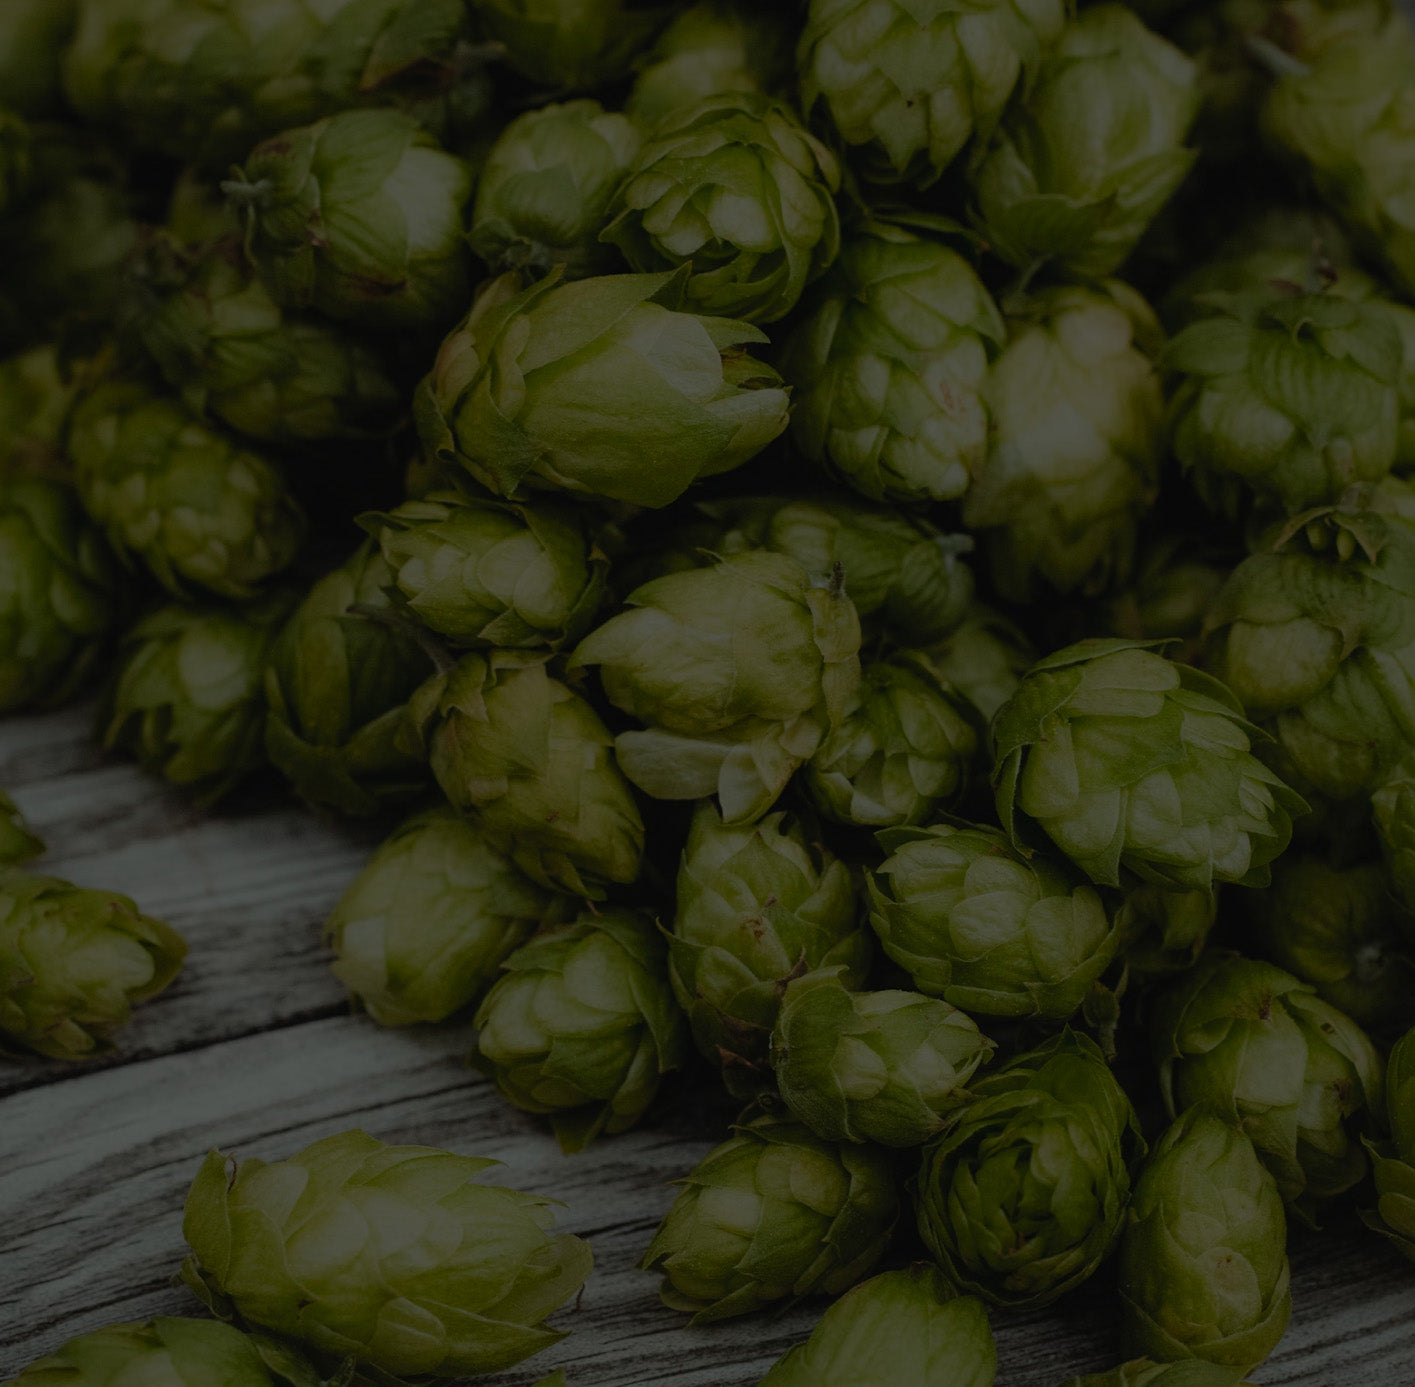
This is a recipe for a 5 gallon batch of German Pilsner beer using Tettnang and Hallertau hops. This recipe is tailored for the Clawhammer Supply 120 volt brewing system. Watch us use it in the video below and follow along with this article for complete details.
Full Brew Day Video
Benchmarks
- OG: 1.051
- FG: 1.008
- ABV: 5.6%
Ingredients Needed
Grains
- Pilsner (2 Row) - 9 lbs 9.5 oz
- Victory Malt - 4.8 oz
Hops
- Tettnang - 2 oz
- Hallertau - 1 oz
Yeast
- 2 packs of White Labs German Lager Yeast (WLP830)
Water Chemistry
- Campden Tablet
- Epsom Salt (optional)
- Gypsum (optional)
- CaCl (optional)
- Lactic Acid (optional)
Brew Day Instructions
Water
Fill your brew kettle with 7.2 gallons of water and start heating it to 152F (66.6C).
Water Chemistry
Adjusting water chemistry for this beer is optional, but doing so will make the final flavor better. At the very least, add .5 of a campden tablet to remove chlorine and chloramine from your brewing water.
The following are our water chemistry targets in PPM. To learn more about adjusting your own water chemistry, check out this article.
Ca: 50.9
Mg: 11.5
Na: 13
SO4: 104.6
Cl: 59.5
HCO3: 106
These water chemistry targets make the sulfates higher than the chlorides. This will help “show off” the hops and make the finished beer slightly bitter.
Mash
Finely crush your grain by double crushing or setting the gap size in your mill to be very small. Once your water reaches 152F (66.6C), mash in. Hold the temperature of 152F (66.6C) and recirculate using the spray valve for one hour.
pH
Adjusting pH is optional, but just like water chemistry, doing this will lead to a better finished beer. Check your pH 5 - 10 minutes into your mash. Add lactic acid until the mash reaches a pH of 5.2 - 5.4. Be careful adding lactic acid, a little goes a long way.
Boil & Hops
After mashing for 60 minutes, pull your grain basket and hook it above your kettle. Let it drain for about 10 minutes before removing it. Increase the temperature on your controller or set it to 100% of power in order to start a boil. Once a boil is reached, follow this hop schedule. This recipe calls for a 60-minute boil.
60 Minutes - 2 oz of Tettnang
10 Minutes - .5 oz of Hallertau
0 Minutes (flameout) - .5 oz of Hallertau
With 10 minutes left in the boil, hook up your plate chiller and run boiling wort through it. This will ensure that it is sanitized. At the end of the boil, chill the wort to yeast pitching temperature. This temperature will vary depending on your method of fermentation (explained below). If you’re fermenting under pressure, chill the wort to room temperature. If you’re fermenting this lager traditionally, chill the wort to 50 - 55F (10 - 13C). If you cannot chill the wort to this low of a temp, just get it as close as possible and allow your fermentation fridge to cool it the rest of the way.
Fermentation Option #1 - Pressure Fermentation
Pressure fermentation allows you to ferment a lager much faster at room temperature. Traditionally, a lager is fermented cold and can take a month or more to make. We pressure fermented this beer in an oversized corny style keg that we’re in the process of making. You can pre-order it here. Before putting wort into our keg, we added a floating dip tube to it, which will save us time after fermentation.
Once our wort reached room temperature, we transferred it into our keg, pitched the yeast, and aerated by shaking the keg back and forth for 1 minute. Then, we attached a spunding valve to the keg that was set to hold a pressure of 15 PSI. In order to reach this pressure immediately, we connected a CO2 tank to our keg, added 15 PSI of CO2, and then disconnected the tank. This is optional, as the yeast will naturally create enough CO2 to add 15 PSI worth of pressure during fermentation.
After 2 weeks, we took a gravity reading. The beer reached a final gravity of 1.008, so it was definitely done. We then moved this beer into our kegerator to chill and carbonate it. Since we added a floating dip tube to our keg, we do not need to transfer the beer into another keg. The floating dip tube will pull beer from the top of the keg, instead of the bottom, which is where all the yeast settles to.
Fermentation Option #2 - Traditional Fermentation
If you don’t have any kegs, you can traditionally ferment this lager in a bucket. Read this article to learn how to traditionally ferment a lager.
Tasting
This beer turned out great! We’re sure Elon would be proud and we know that he definitely wouldn’t sue us because of all our hard work. With a light body, slightly hoppy flavor, and crisp finish, this beer is one of our most crushable yet. If you like this beer, we recommend you check out some similar recipes below.


Leave a comment